Join the Mesh
Sidecar Proxies
The Travel Demo was deployed in the previous chapter without Istio sidecar proxies. These are Envoy proxies that can be injected into the application pods.
Without a sidecar, workloads do not connect to the Istio control plane and do not report mesh telemetry (metrics, access logs, or distributed traces).
Confirm in Kiali
As shown in Install Travel Demo, the demo namespaces appear on the Namespaces page with type - (Not part of the mesh):
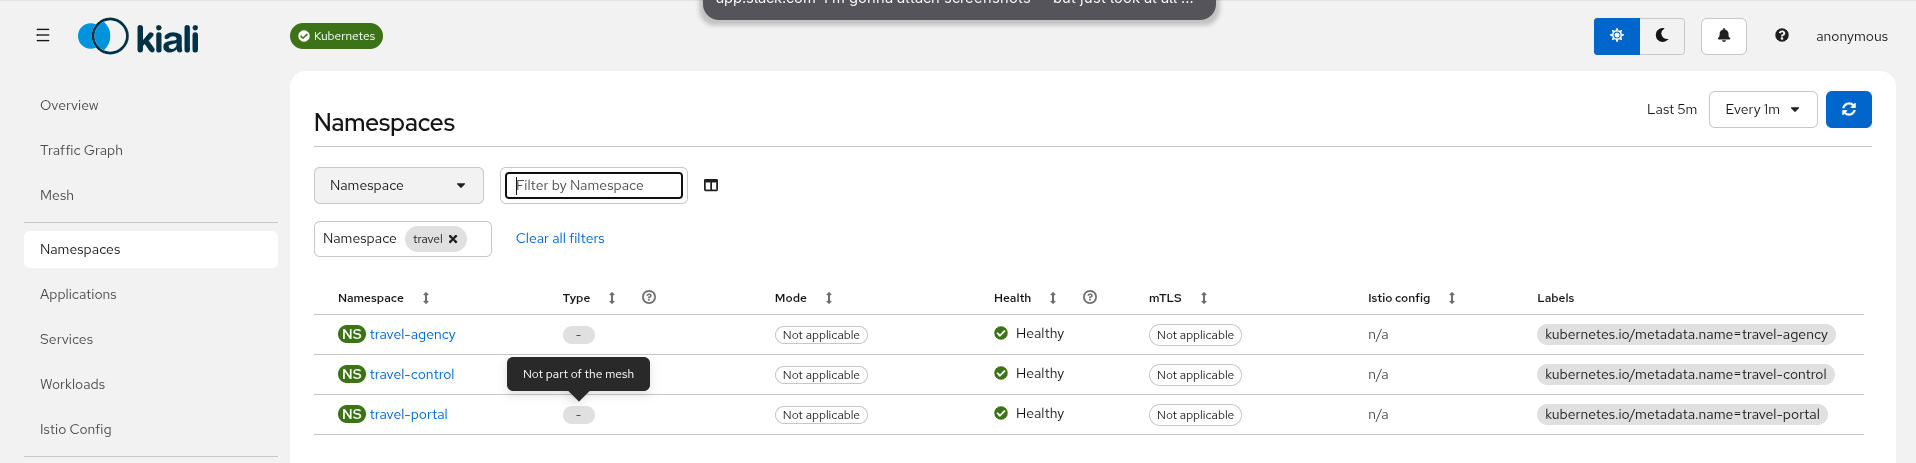
The Overview page still summarizes only what is in the mesh — Istio control plane counts should remain unchanged and data plane namespaces should stay at 0.
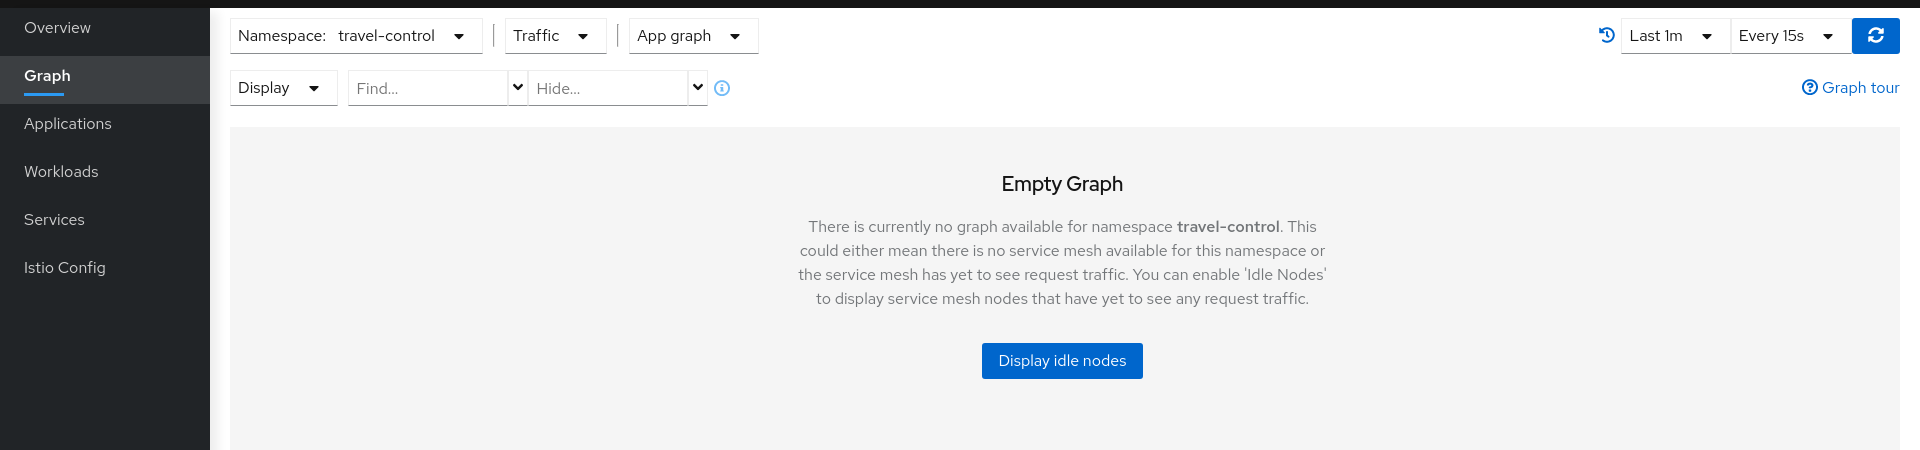
On the Graph page, select the Travel Demo namespaces (travel-control, travel-portal, and travel-agency) in the namespace dropdown. Without sidecar proxies there is no request telemetry, so Kiali reports an empty graph:
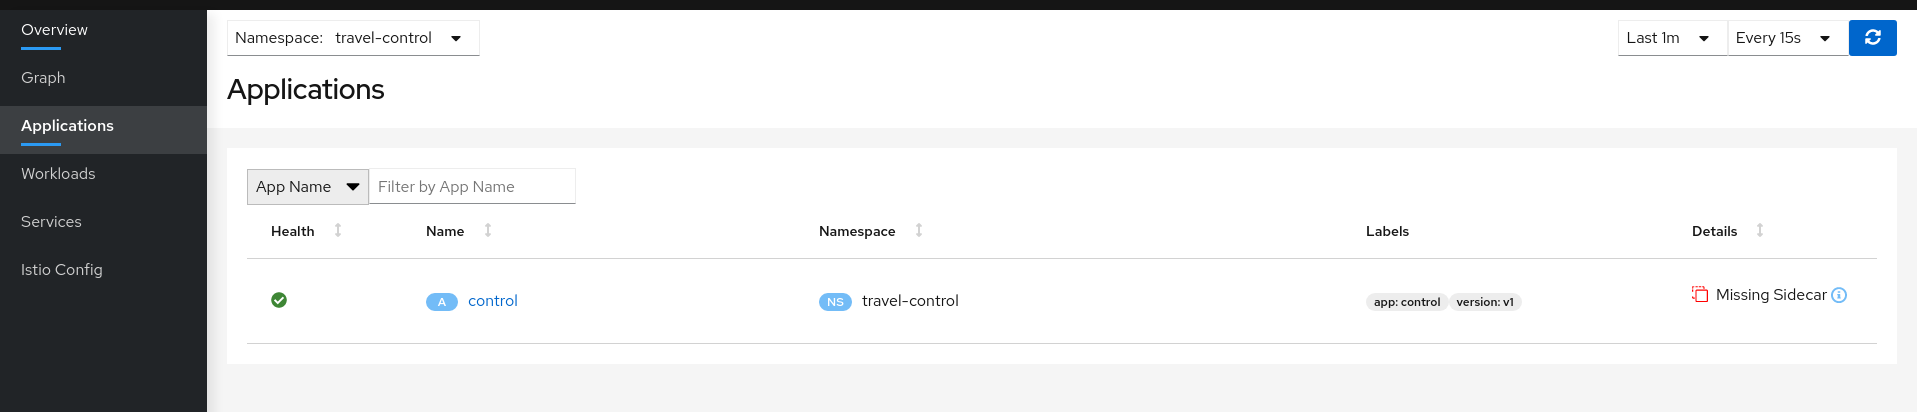
The Workloads and Applications pages make the missing sidecars explicit. Open Workloads, select the travel-control namespace, and look for the missing-sidecar badge on the control workload:
Enable Sidecars
In this tutorial we add namespaces and workloads to the service mesh one step at a time. That makes it easier to see how Istio sidecar injection works before the rest of the demo joins the mesh.
We start with the control workload in the travel-control namespace.
Step 1
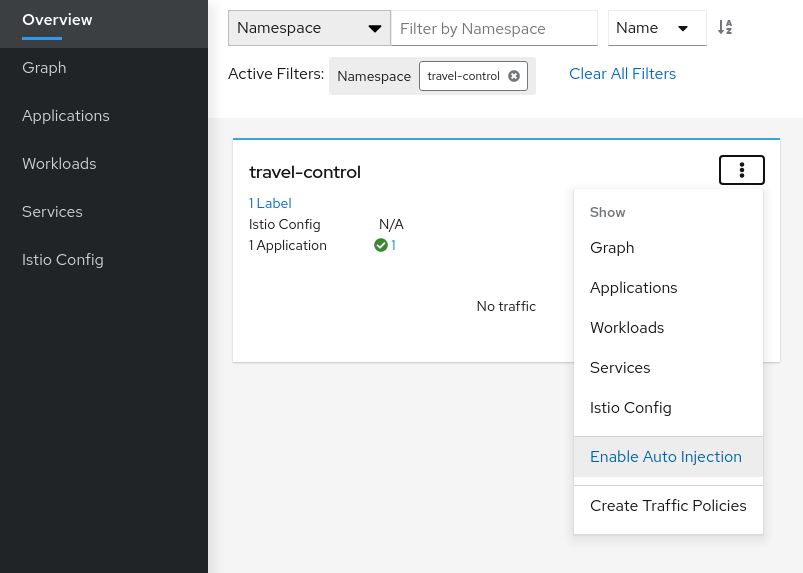
Enable Auto Injection on the travel-control namespace- Open Namespaces.
- Click the travel-control namespace name to open its detail page.
- Select Actions → Enable Auto Injection.
- Confirm in the dialog.
This adds the istio-injection=enabled label to the namespace. Existing pods are not restarted yet — only new pods created after injection is enabled receive a sidecar automatically.
Step 2
Enable Auto Injection for the control workload- Open Workloads.
- Select the travel-control namespace.
- Click the control workload.
- Select Actions → Enable Auto Injection.
Kiali updates the workload so the next pod receives an Istio sidecar. Kubernetes rolls out a new control pod; when it is ready you should see 2/2 containers (application + istio-proxy):
kubectl get pods -n travel-control
NAME                       READY   STATUS    RESTARTS   AGE
control-xxxxxxxxxx-xxxxx   2/2     Running   0          42s

Understanding what happened:
(ii) Automatic Sidecar Injection
Open Travel Demo to Outside Traffic
The control workload now has an Istio sidecar, but the application is still not reachable from outside the cluster.
In this section you expose the control service through an Istio Gateway and route external HTTP traffic to it with a VirtualService.
Step 1
Create a DNS entry for the control service using the external address of the Istio ingress gatewayKind
If you created the cluster with./hack/start-kind.sh, MetalLB is already configured. LoadBalancer services such as istio-ingressgateway receive an external IP address.
For Kind, check the external IP of the ingress gateway:
kubectl get svc istio-ingressgateway -n istio-system
NAME                   TYPE           CLUSTER-IP     EXTERNAL-IP    PORT(S)                                                                      AGE
istio-ingressgateway   LoadBalancer   10.101.6.144   10.101.6.144   15021:30757/TCP,80:32647/TCP,443:30900/TCP,31400:30427/TCP,15443:31072/TCP   19h
Add an entry to /etc/hosts on the machine where you run the browser (use your cluster’s EXTERNAL-IP):
...
10.101.6.144 control.travel-control.istio-cluster.org
...
From that machine, control.travel-control.istio-cluster.org resolves to the Istio ingress gateway.
Kind
IfEXTERNAL-IP stays <pending>, confirm MetalLB is running: kubectl get pods -n metallb-system
OpenShift
OpenShift does not populate KubernetesEXTERNAL-IP for LoadBalancer services the same way. Expose the ingress gateway as a route instead.
For OpenShift, expose the ingress gateway as a route:
oc expose service istio-ingressgateway -n istio-system
oc get routes -n istio-system
NAME                   HOST/PORT                                  PATH   SERVICES               PORT    TERMINATION          WILDCARD
istio-ingressgateway   <YOUR_ROUTE_HOST>                                 istio-ingressgateway   http2                        None
Use <YOUR_ROUTE_HOST> wherever this chapter shows control.travel-control.istio-cluster.org (no /etc/hosts entry is required on OpenShift).
Step 2
Use the Request Routing wizard on the control service- Open Services.
- Select the travel-control namespace.
- Click the control service.
- Select Actions → Request Routing.
Use Add Route Rule to add a default rule that sends all requests to the control workload.

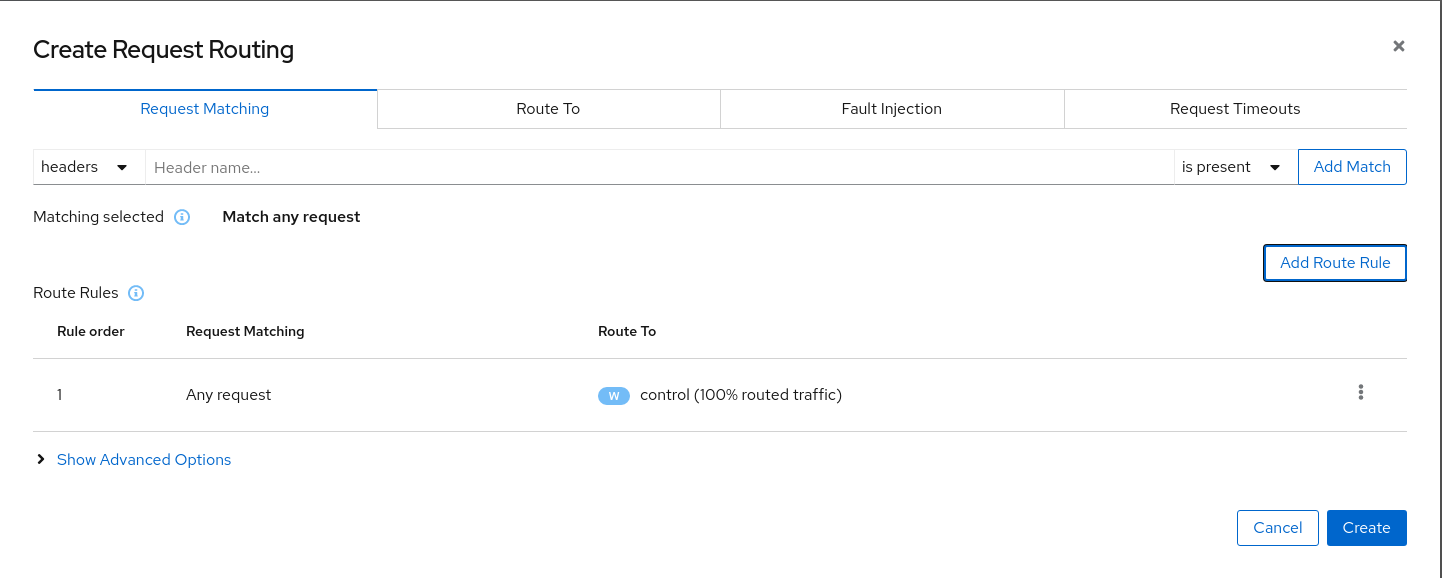
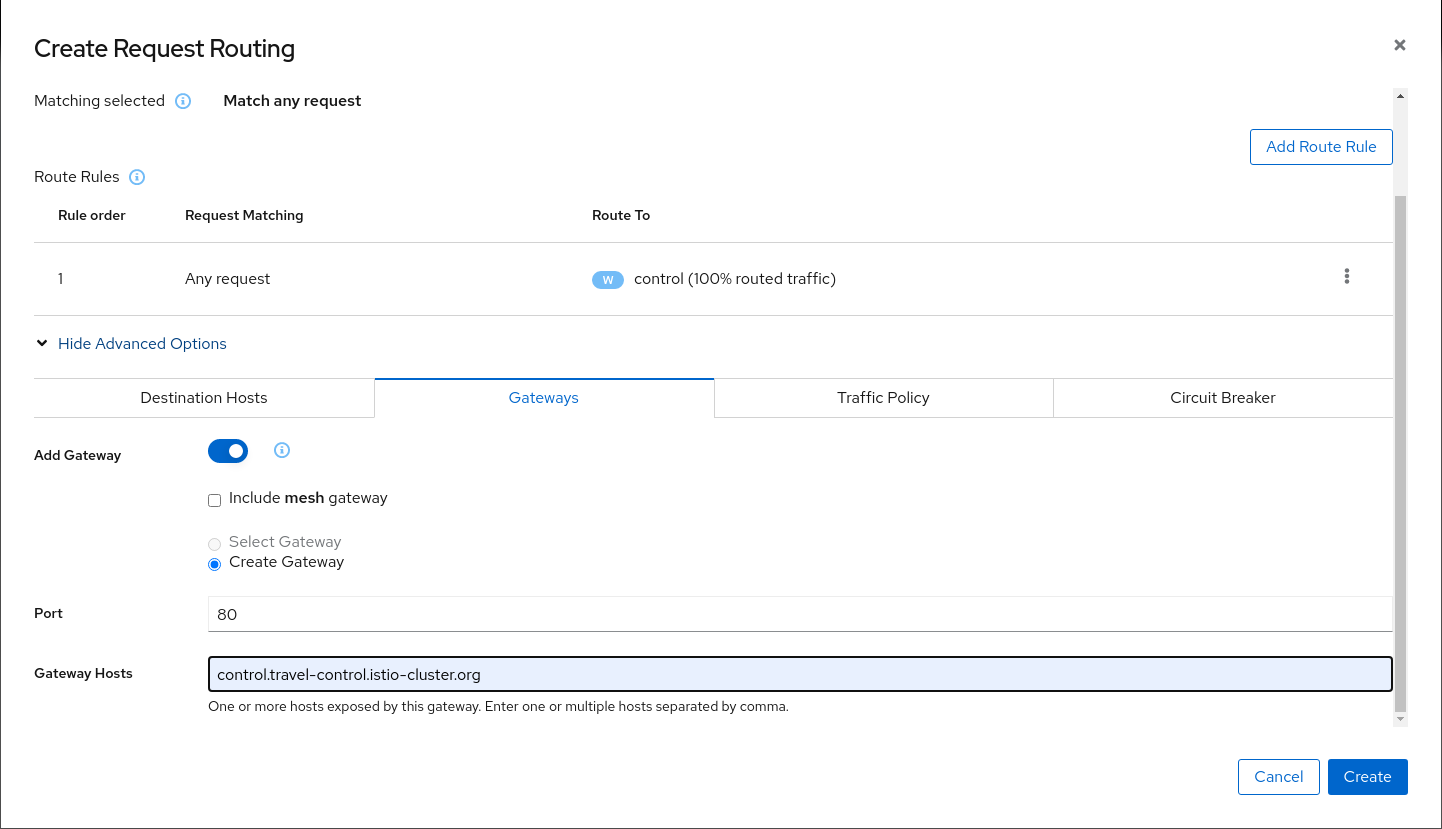
Open Show advanced options, select the Gateways tab, enable Add Gateway, choose Create Gateway, and set the gateway host to control.travel-control.istio-cluster.org (port 80).
Before clicking Create, review the DestinationRule, Gateway, and VirtualService generated by the wizard:
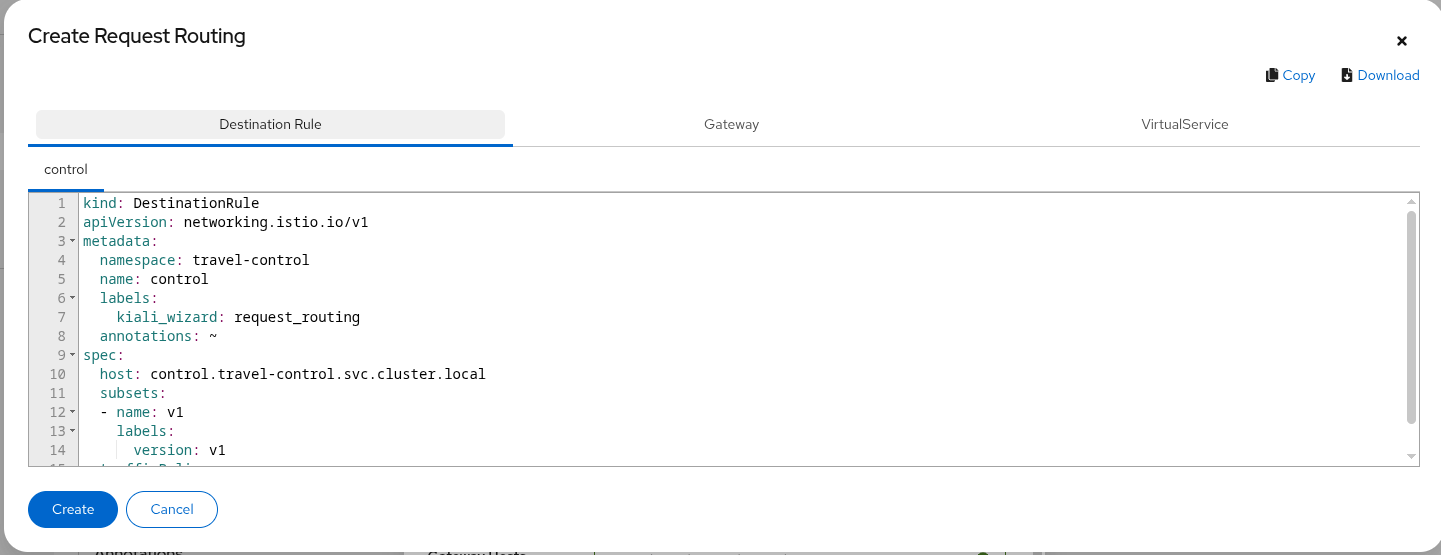
Click Create to apply the configuration.
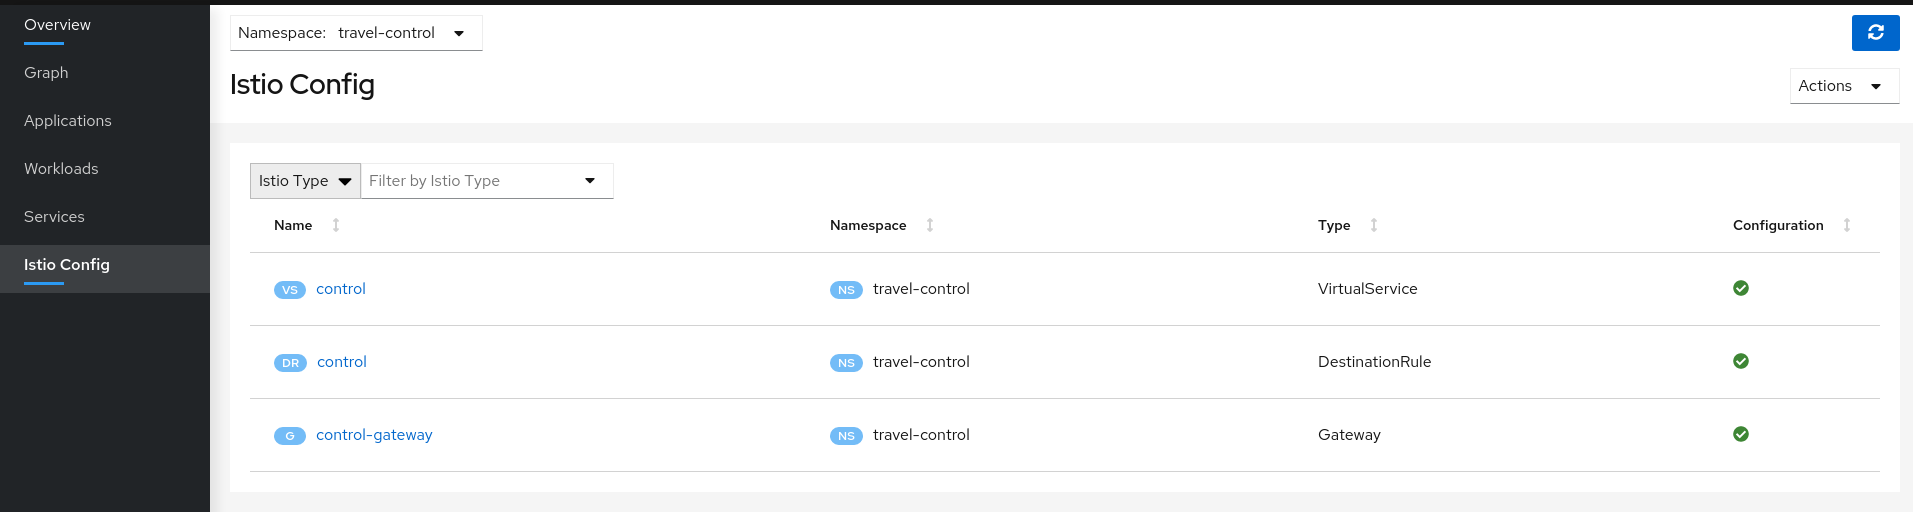
On the Istio Config page, confirm the new objects were created and validated in the travel-control namespace:
Step 3
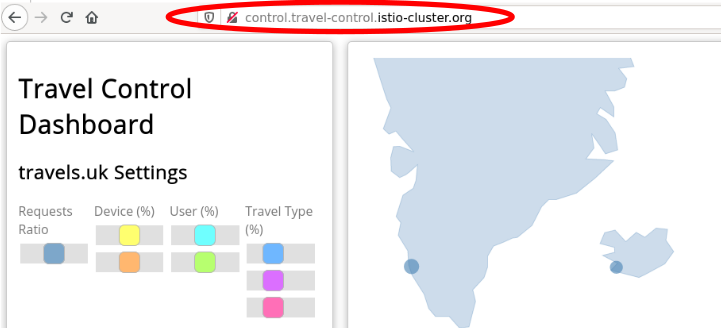
Test the control service in your browserOpen http://control.travel-control.istio-cluster.org/ (on OpenShift, use your route host instead).
You should see the Travel Demo business dashboard — the same UI you previewed with kubectl port-forward in the previous chapter, now reachable through the mesh ingress.
Step 4
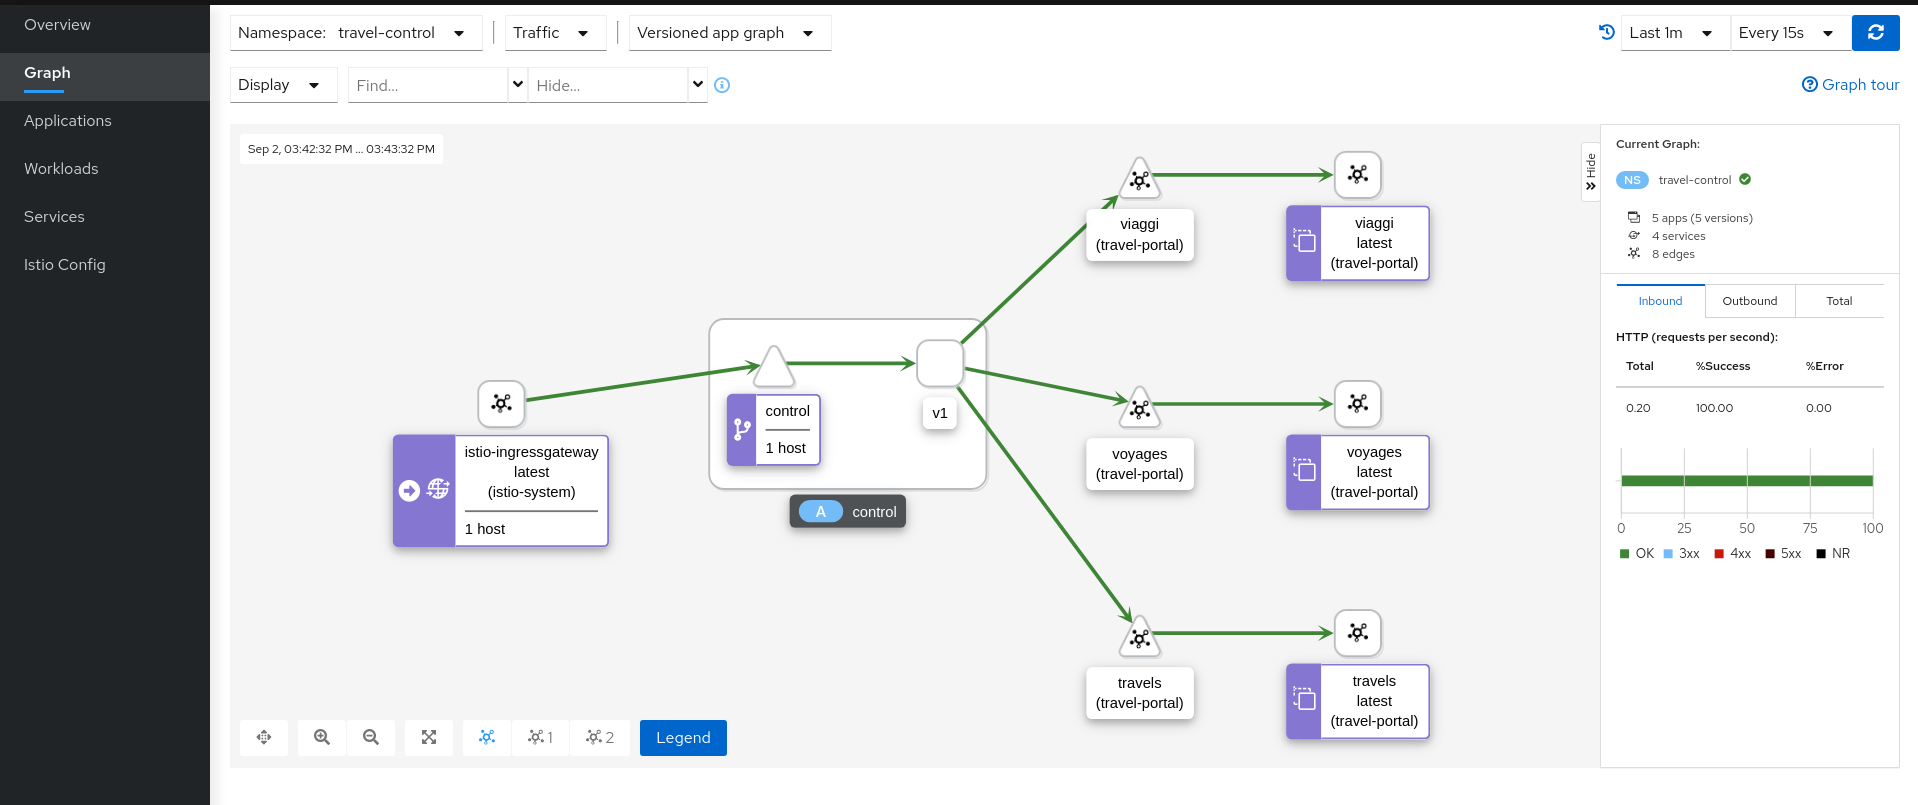
Review the travel-control namespace in KialiOpen the Graph page, select the travel-control namespace, and refresh if needed. After browsing the dashboard, Kiali should show request telemetry from the ingress gateway through the control workload.
The graph may also show travel-portal services as destinations of outbound traffic from control. Only the control workload has a sidecar at this point — workloads in travel-portal and travel-agency still show missing sidecars on the Workloads page.
Understanding what happened:
- External traffic enters the cluster through an Istio Gateway bound to the ingress gateway.
- A VirtualService routes that traffic to the control service.
- The control sidecar reports telemetry that Kiali displays on the graph.
- Only the control workload participates in the mesh so far; the remaining demo workloads are added in Observe the Mesh.